
Well, I want to start by telling you that I love that they share their room, changing Tess from crib to bed was zero difficult and she is happy to have her big girl bed !! Sofi, on the other hand, loves to share the room with her little sister and she had been asking me for so long for a room with a rainbow. I thought of a simple room, I don't like having so many colors and so many things, I like the minimalist and classic more than anything, so I thought it would be super nice for them if we made a wall with cute little rainbows.

For this project we used the modern rainbow design from livetteswallpaper and I love it.

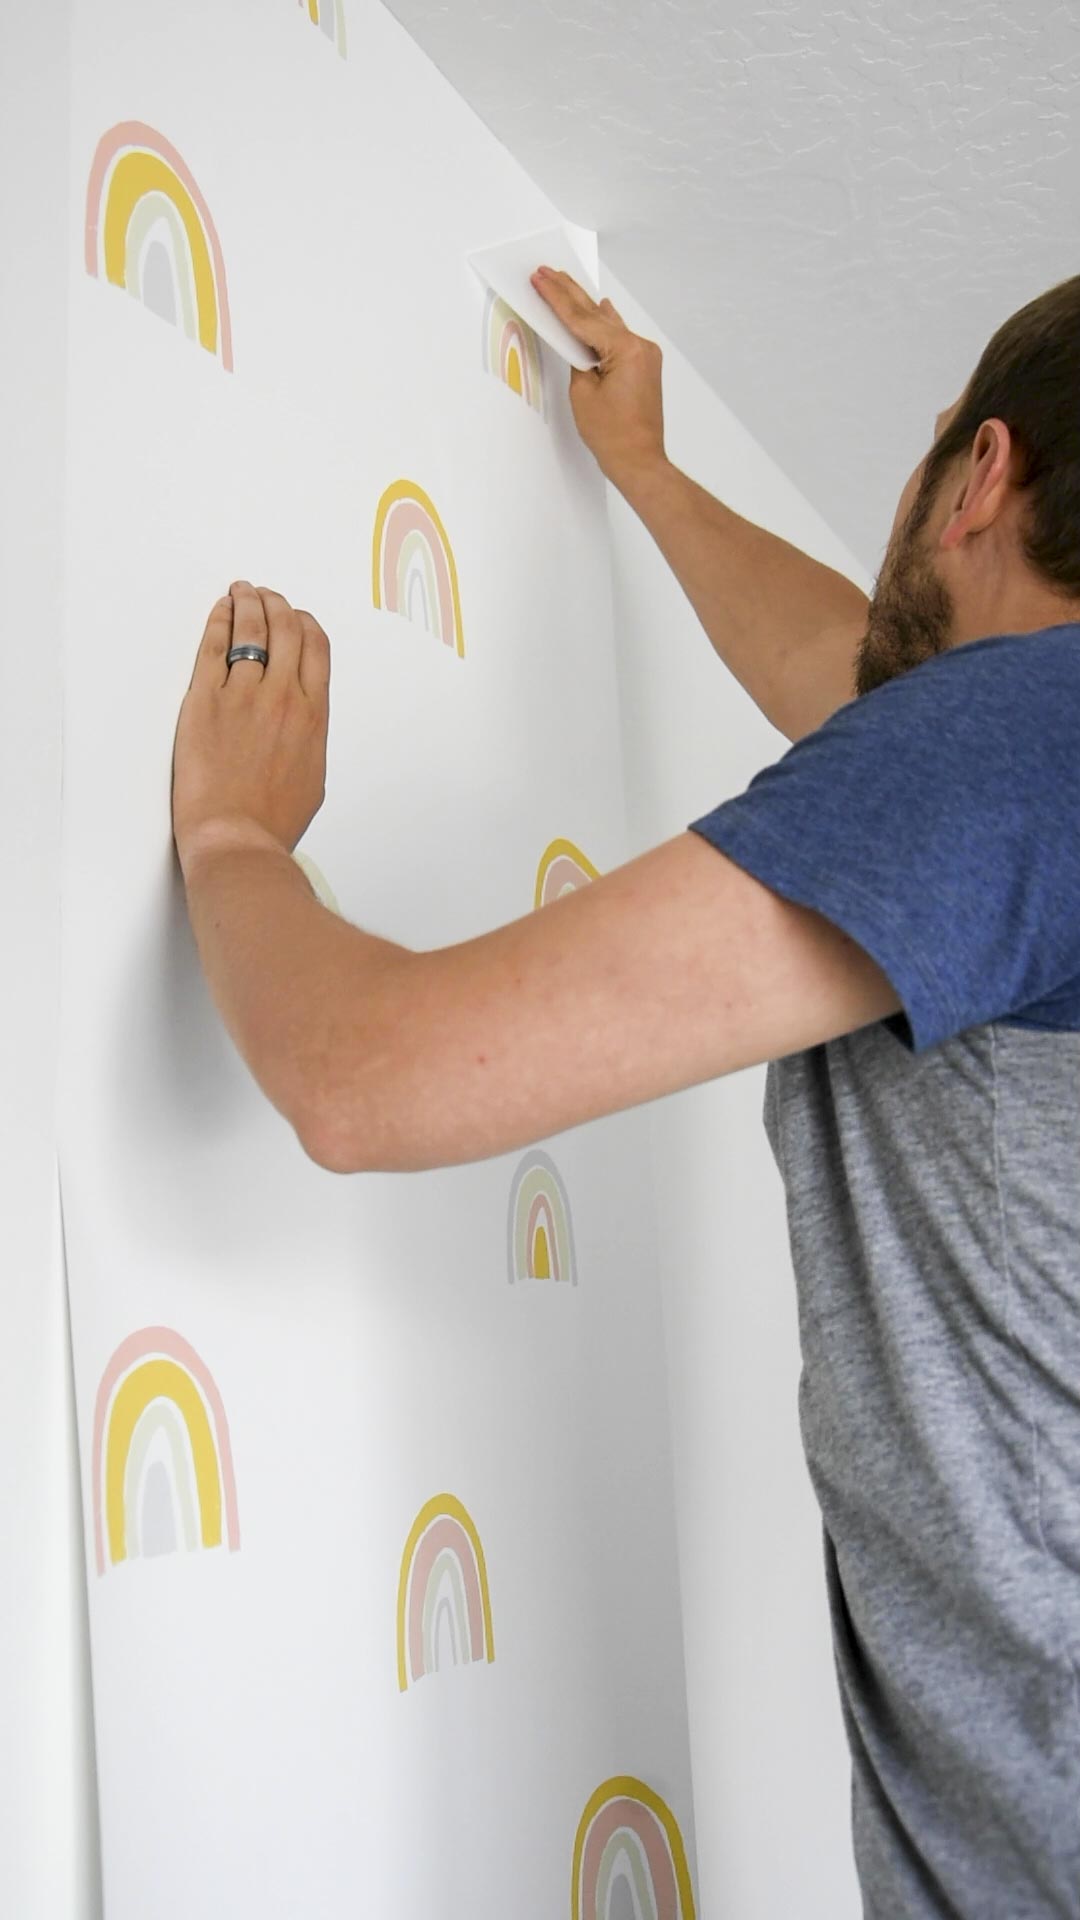
Now lets talk about our experience placing wall paper. We had never used wall paper and that had us a little nervous, but Livettes wall paper make our experience great so after giving them the indications, my vision board, the size of our wall and the design we chose, the wallpaper was send to the production and in about a week I got it at home, the paper was packed perfectly and also in a beautiful packaging and it was separated into 6 parts.
The paper we choose is a traditional wallpaper material, it is a non-woven material with a finish similar to paper that is applied with paste or glue, however, it can also be removed in full panels without leaving residue, We used the Roman PRO-838 paste from Lowes, it was already mixed and ready to use so it was easier.
How to put wall paper / easy and simple guide
What do you need
1.Wallpaper application brush, we use a roller
2. A measurement tool
3. A sharp knife for cutting wallpaper or a pressure knife
4. A couple of clean cloths to smooth the wallpaper off the wall.
5. Wallpaper paste.
Getting started
1. We took out the paper the night before and spread it in the room on the floor.
2. Clean the wall
3. Measure the length of the wall that needs to be papered
4. Apply the glue with a roller
5. Apply your first strip, we start from the middle of the wall
6. Cutting away the excess paper
7. Matching up the pattern.


This is how sofi and tess's room is going, I still have some ideas on one of the walls and some small things that I intend to add, so soon we will do a tess and sofi room tour:) stay tuned !!!
Let me know if you have any questions, bye


No comments